Christmas / 15 December, 2025 / Nanny Anita
I love making paper decorations. When I was looking after EC and his siblings, I would make a new type of paper decoration every year to decorate the playroom with. When my time with them came to an end I left all those decorations behind. Although I don’t have a playroom to decorate in my new position, I am decorating NC’s room. This year I had been making paper bag stars to hang up from her ceiling.
Make sure you follow my Christmas board on Pinterest for more ideas. Don’t forget to save the pin for later.
To make your own paper bag stars you will need:
You need to make sure that the fold of the paper bag is at the bottom when you are drawing on your design because they will create the centre of your star.
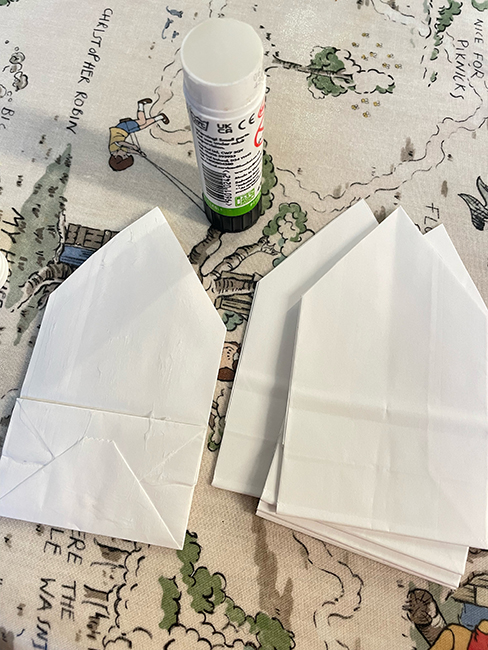
For each star you will need a minimum of 12 bags. Using 13/14 bags makes it easier when it comes to opening them up.

Pattern ideas
Draw your design on one of the bags and cut it out. Use that bag as a stencil for all the other bags in that star. This will help to ensure that the design is even.
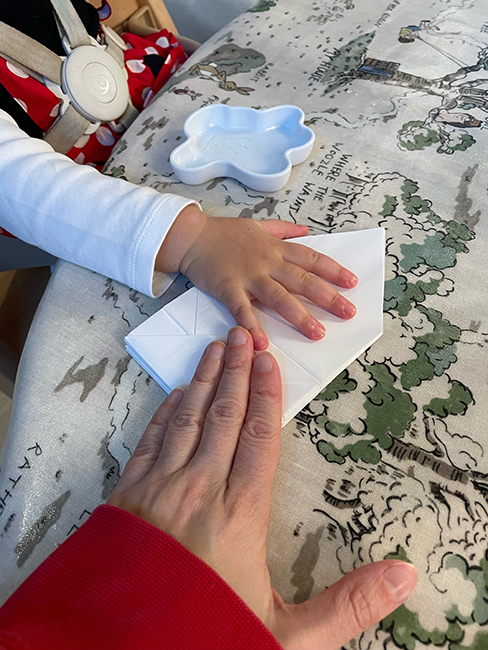
When all the bags have been drawn and cut out, glue them together. NC helped me to pat them down once I had glued each bag onto the other.

To open it pull the last bag that you glued on round the first bag. However, don’t glue them together. Instead use a paper clip to secure it open. That way when you take them down you can fold it back up and reuse it next year.
Use a hole punch to make a hole at the top of that last and first bag. Then use string through that hole to hang it up. I had to hang them from the wall because the ceiling was too high for me to reach even with a ladder.
If you enjoyed making these paper bag stars, be sure to check out my easy paper decorations and spirograph decorations.
Pin for later:


Step into party season with Linzi’s gorgeous collection of occasion-ready footwear. From sparkling heels and statement platforms to elegant courts and chic ballet flats, there’s something for every festive celebration. Whether you’re dressing up for a Christmas party, heading out for cocktails or planning your New Year’s Eve look, Linzi has the finishing touches covered. Think eye-catching details, flattering silhouettes and plenty of sparkle, all at prices that won’t blow the party budget.
Christmas Gifting / 15 November, 2026
Christmas Gifting / 14 November, 2026
Christmas Gifting / 13 November, 2026