Blogger / 12 February, 2026 / Nanny Anita
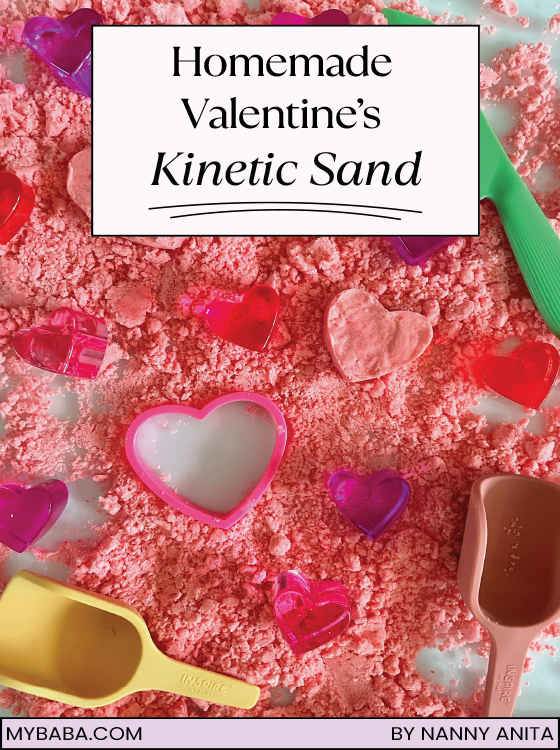
Over the years there have been many different versions of homemade kinetic sand that I have tried. They were mostly terrible. This new recipe, however, is surprisingly good. Is it better than the real deal? No, but it has a nice texture to it. It kind of reminded me of the texture you get when you rub butter, flour, and sugar together to make a crumble. Of course, Valentine’s Day just being days away now, this had to be used in a homemade Valentine’s kinetic sand tray.
Make sure you follow my Valentines board on Pinterest for more ideas. Don’t forget to sabe the pin for later.

To make the homemade kinetic sand at all the dry ingredients into a bowl and mix them together. Then add the water, adding a couple of tbsp of water at a time. Keep adding the water in and mixing it with your hands until you form a “sand” that will stick together when squished. I ended up using the whole ¼ cup. If you add too much water, the mixture will begin to resemble Oobleck. If that does happen simply add more corn flour.
When it is ready, add it to your sensory tray with some bowl, spoons, heart shaped cookie cutters. I also added in some heart blocks and a Montessori knife from NC’s kitchen set. Do not worry, it wasn’t sharp, but NC did have a lot of time cutting the “cakes” we made.

Normally when we have a sensory tray out, NC comes and goes from it as much as she likes. With this one though, if she decided she had enough then that was the end of it for that day. Simply because it does make your hands sticky and I didn’t want to constantly be wiping them down. The first day we played with it NC was fully engrossed with it for 58 minutes. The next day she played with it for just over 20 minutes before she wanted to go down the slide.
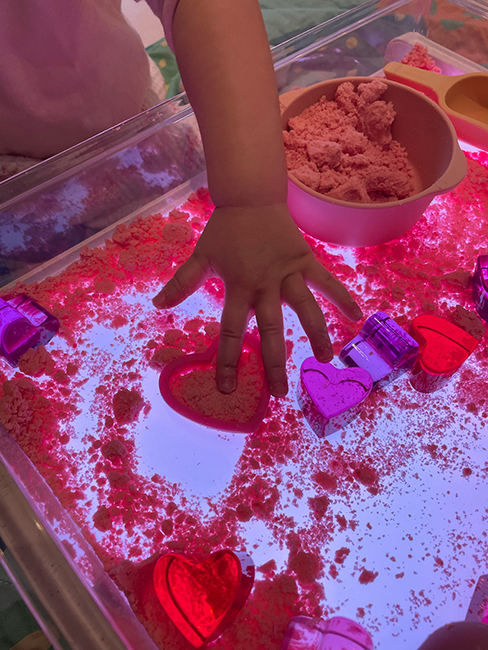
The cool thing about this tray is it a light that you can turn on.
If you enjoyed this homemade Valentine’s kinetic sand tray, be sure to check out Valentine’s scrap hearts and Valentine’s sugar writing tray.
Pin for later:

Step into party season with Linzi’s gorgeous collection of occasion-ready footwear. From sparkling heels and statement platforms to elegant courts and chic ballet flats, there’s something for every festive celebration. Whether you’re dressing up for a Christmas party, heading out for cocktails or planning your New Year’s Eve look, Linzi has the finishing touches covered. Think eye-catching details, flattering silhouettes and plenty of sparkle, all at prices that won’t blow the party budget.
Christmas Gifting / 15 November, 2026
Christmas Gifting / 14 November, 2026
Christmas Gifting / 13 November, 2026