Blogger / 5 October, 2026 / Nanny Anita
It is that time of year to start decorating for Halloween. I know there are places that will be doing Halloween things from August, but I refuse to, on principle, until October. This year there has been a fair number of posts about making Halloween window stickers, so I thought I would hope on the trend.
Make sure you follow my Halloween board on Pinterest for more ideas. Don’t forget to save the pin for later.
There are a couple of ways that you can make these. The first way is to simply add coloured paint to your pva glue and either paint it on or pipe it on if it is still in the glue pot.
Another option is to go for window sticker paints. I was given a set for Christmas a few years ago by my brother. This type gives a smooth translucent appearance when they have dried. However, they don’t always work well with the other types. I tied using the black window paints with then puffy paints, and it took me a few failures to get it right.
I went with using some puffy paints that I had for a project last year. Tulip is a good brand, but hard to get hold of. Shutter Art is another good brand that I have used for this.
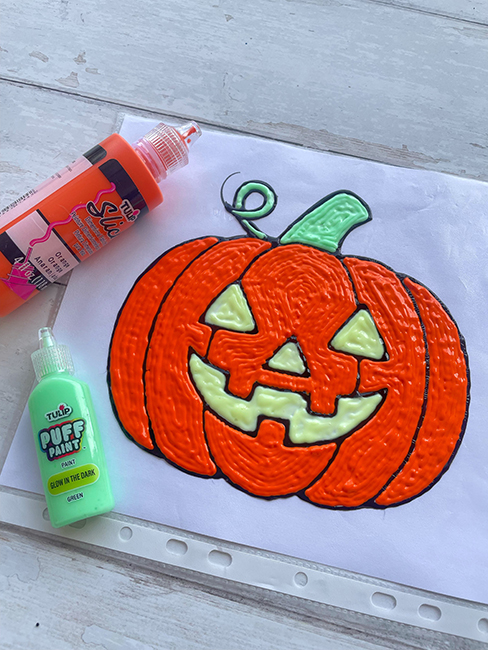
Which every route you decide to go, start by drawing your design onto paper or printing it out. Cover it with parchment paper or a plastic wallet. Then draw your design onto the plastic wallet/parchment paper. Make sure that you leave it to completely dry for at least 24hrs. I am always impatient with this part and end up ruining them. If you want to add an extra spookiness to them, you can always use glow in the dark puffy paint to them. I used them to fill in the pumpkins eyes and mouth to make them look like they are glowing.
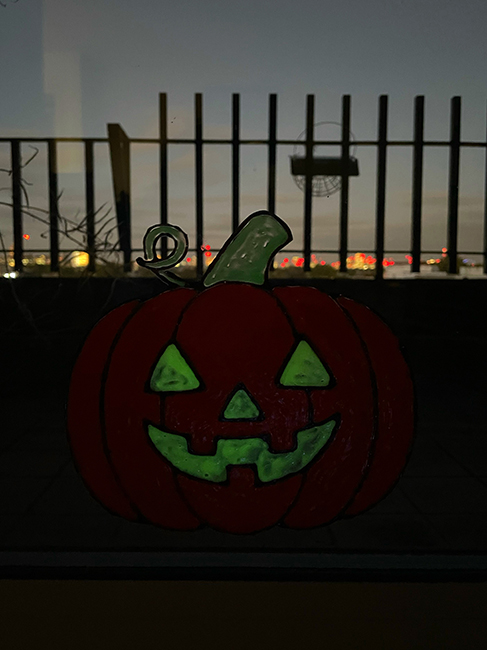
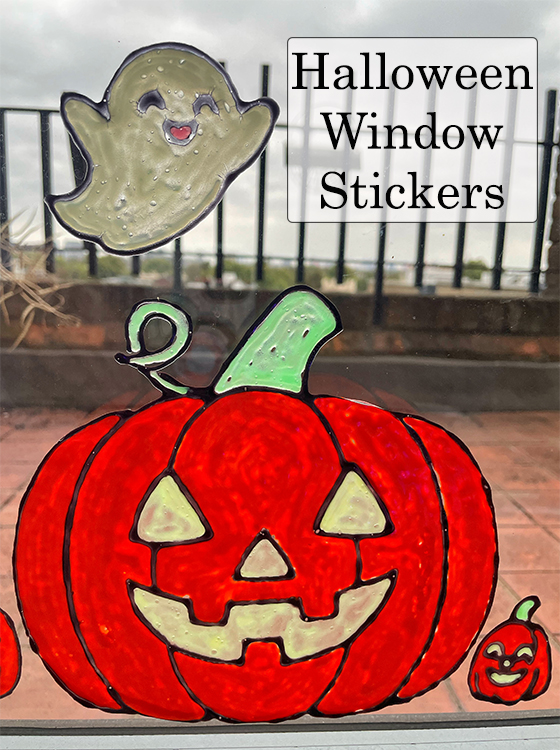
Once they have fully dried, peel them off and stick them to your window.
If you enjoyed these Halloween window stickers, be sure to check out my Halloween moving eyes pictures and spooky window pictures.
Pin for later:

Step into party season with Linzi’s gorgeous collection of occasion-ready footwear. From sparkling heels and statement platforms to elegant courts and chic ballet flats, there’s something for every festive celebration. Whether you’re dressing up for a Christmas party, heading out for cocktails or planning your New Year’s Eve look, Linzi has the finishing touches covered. Think eye-catching details, flattering silhouettes and plenty of sparkle, all at prices that won’t blow the party budget.
Christmas Gifting / 15 November, 2026
Christmas Gifting / 14 November, 2026
Christmas Gifting / 13 November, 2026