Blogger / 22 March, 2024 / Nanny Anita
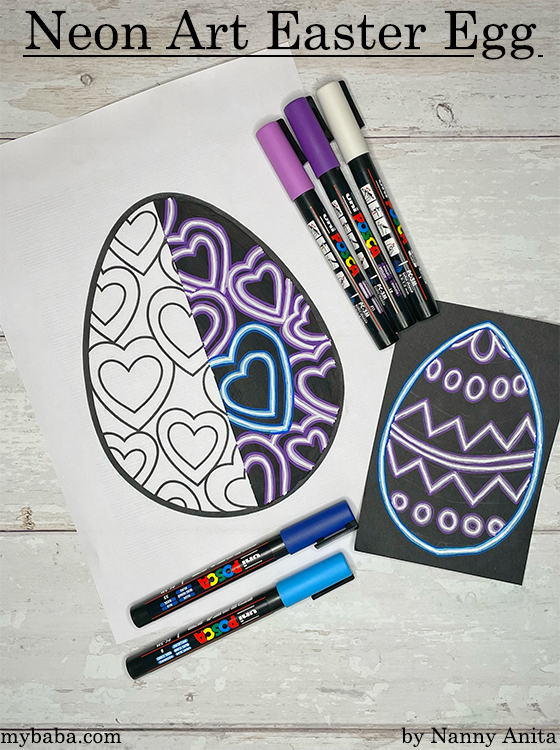
I came across neon painting on Instagram, and it looked fascinating. It is remarkably simple to do so I tried it out with these neon Easter egg pictures.
Make sure you follow my Easter craft board on Pinterest for more ideas. Don’t forget to save the pin for later.
*You will want two shades of the same colour: a lighter and darker shade. I have found that purples, blues, greens, and reds work well in this neon painting. I tried it with pink, but it wasn’t quite as luminous as the other colours.
There are a couple of ways that you can do this. You can either print out a picture from the internet or you can draw your own on some black or white paper. If you are going to do the whole egg as neon painting, then I would suggest you draw the picture onto black paper. But, if you want to only do parts of it in neon painting, then do it on white paper.
Or if you are printing the design off from the computer, make sure that you go over the design in pencil. This will mean when you paint over it in black paint you will still have an impression of the design come through.
Paint over your design in black paint and wait for it to dry.
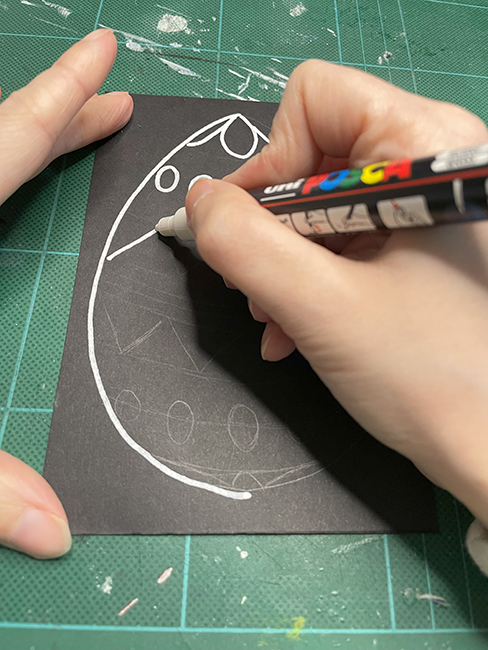
Next outline you design on the black paint or black paper with white posca pen.
The pens dry quickly, but you might want to give it a minute before moving on, so you don’t smudge it.
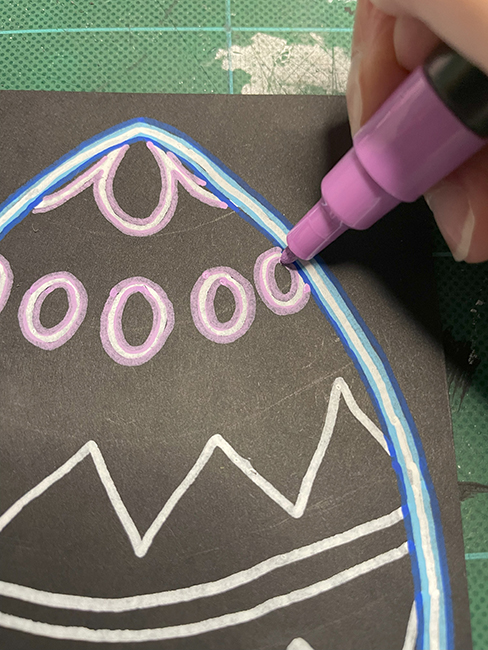
Taking the lighter shade of colour, you will need to draw around all the white lines, on both sides of it. The light colour should sandwich the white lines.
Finally take your darker shade of colour and outline each of those lighter shades. In the end, each line should go – dark shade, light shade, white, light shade, dark shade.
When you have finished you will be left with a picture that looks like it is illuminated. It is quite something to look at.
If you enjoyed these neon Easter egg pictures, be sure to check out positive and negative Easter pictures and tissue paper printing Easter eggs.
Pin for later:

Step into party season with Linzi’s gorgeous collection of occasion-ready footwear. From sparkling heels and statement platforms to elegant courts and chic ballet flats, there’s something for every festive celebration. Whether you’re dressing up for a Christmas party, heading out for cocktails or planning your New Year’s Eve look, Linzi has the finishing touches covered. Think eye-catching details, flattering silhouettes and plenty of sparkle, all at prices that won’t blow the party budget.
Christmas Gifting / 15 November, 2026
Christmas Gifting / 14 November, 2026
Christmas Gifting / 13 November, 2026