Blogger / 26 May, 2021 / Nanny Anita
The other week BB’s class newsletter said that they were looking at Matisse’s Goldfish Bowl painting this term. As a fun little afterschool art activity, we made some paper goldfish.
Make sure you follow my crafts board in Pinterest for more ideas. Don’t forget to save the pin for later.
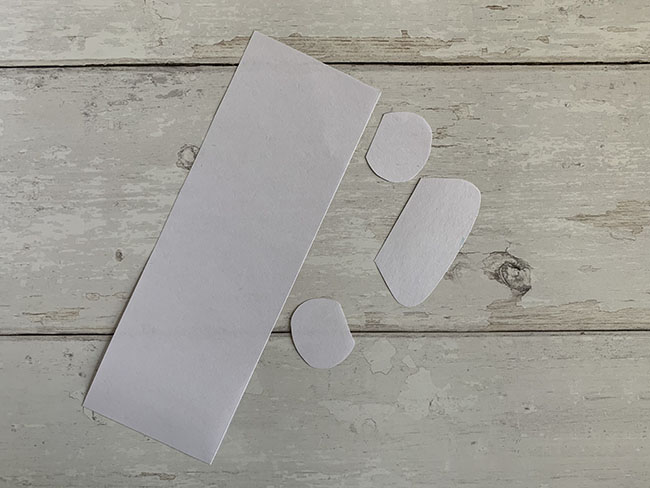
Cut a strip of white paper. Ours were roughly 6cms wide. How long they are depends on how big you want to have them. Next cut out two fins and a tail.
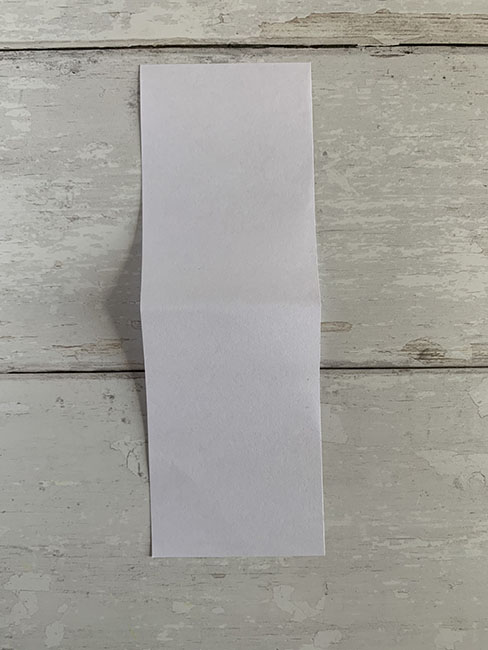
Fold the strip of paper in half and make a gentle crease. You don’t want to make it hard fold, because otherwise you will end up with a flat fish.

Unfold the strip of paper and decorate it. You will need to draw the eyes near the crease you made.

Turn the paper over and stick the fins and tail into place.
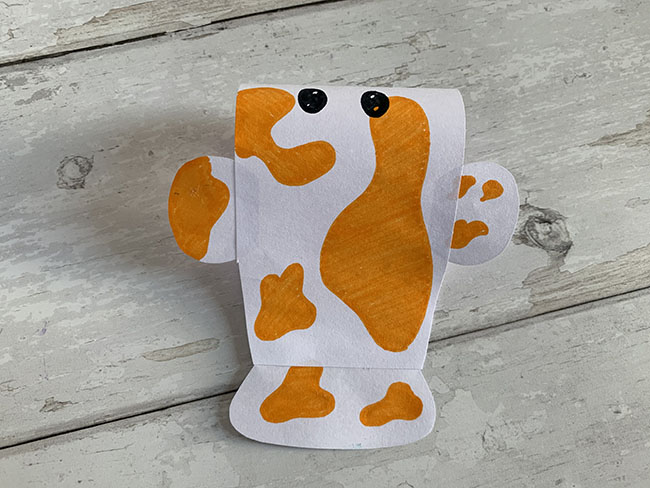
Finally glue the two ends together and trim away some of the paper from the tail to the fins. You should end up with a slightly rounded paper fish.
They are quite cute.
If you enjoyed making these paper fish, be sure to check out my mini aquariums and painted koi fish.
Pin for later:


Step into party season with Linzi’s gorgeous collection of occasion-ready footwear. From sparkling heels and statement platforms to elegant courts and chic ballet flats, there’s something for every festive celebration. Whether you’re dressing up for a Christmas party, heading out for cocktails or planning your New Year’s Eve look, Linzi has the finishing touches covered. Think eye-catching details, flattering silhouettes and plenty of sparkle, all at prices that won’t blow the party budget.
Christmas Gifting / 15 November, 2026
Christmas Gifting / 14 November, 2026
Christmas Gifting / 13 November, 2026