Blogger / 30 July, 2025 / Nanny Anita
I have done foam printing with children before, but this is slightly different. Previously I have used Styrofoam, etched out the design on to the sheet and only used one colour at a time to print with. This time it involves cutting it up and multiple coloured inks. I am sure that there is a proper name for it, but I am going with foam printing.
Make sure you follow my craft board on Pinterest for more ideas. Don’t forget to save the pin for later.
*You could always use a different medium here like paints, but I went with inks.
Draw out your design onto your sheet, remember if you are going to have parts that aren’t connected to the edge, you will need a craft knife to cut them out.
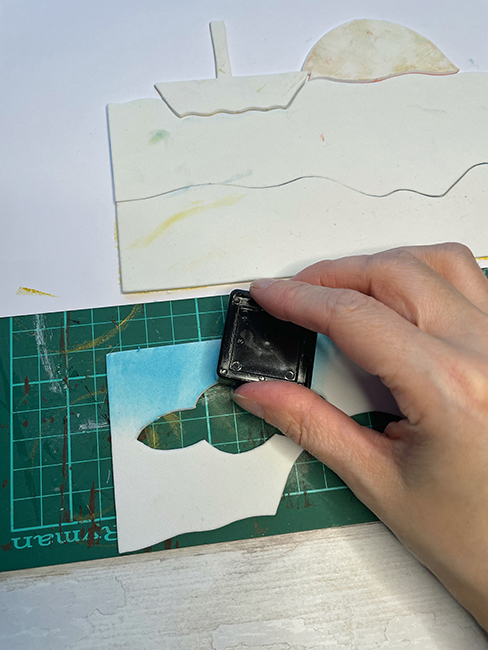
Taking one piece at a time, cover it with ink and then print it onto your piece of paper. You will have to print it on the correct side for each piece, or you will end up with one part being the mirror image of what you want. When you have finished putting one piece down, press it down firmly but leave it there.
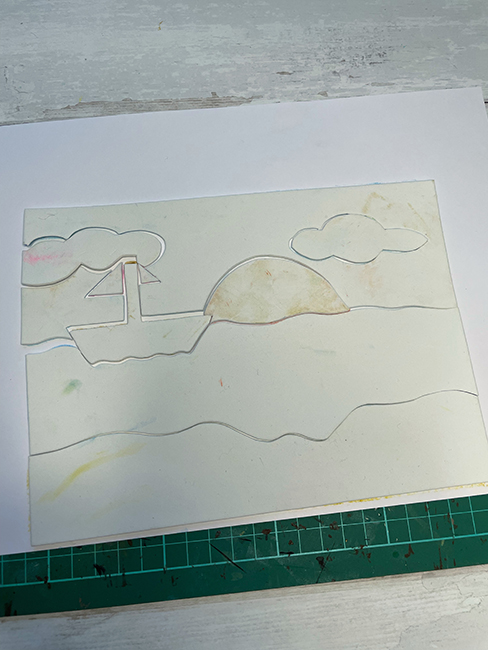
When all the pieces are in place, place a heavy book on top of your picture and press down firmly again.
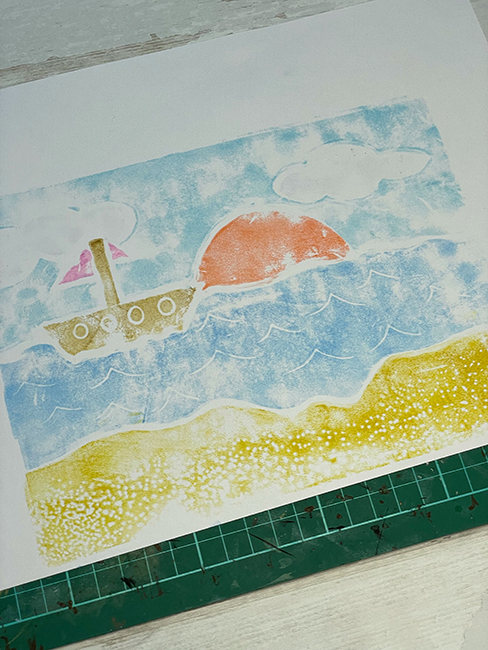
Peel all the segments off carefully to reveal your print.
Depending on the type of ink or paint that you use, you may have to work quickly before the ink dries.
If you enjoyed this foam printing, be sure to check out my Styrofoam block printing, melted crayon lanterns, and flip book animation.
Pin for later:


Step into party season with Linzi’s gorgeous collection of occasion-ready footwear. From sparkling heels and statement platforms to elegant courts and chic ballet flats, there’s something for every festive celebration. Whether you’re dressing up for a Christmas party, heading out for cocktails or planning your New Year’s Eve look, Linzi has the finishing touches covered. Think eye-catching details, flattering silhouettes and plenty of sparkle, all at prices that won’t blow the party budget.
Christmas Gifting / 15 November, 2026
Christmas Gifting / 14 November, 2026
Christmas Gifting / 13 November, 2026