Blogger / 29 October, 2025 / Nanny Anita
I won’t pretend to be a good artist. I am good at doing arts and crafts, but in terms of proper art like drawing or painting, that just isn’t my forte. This idea for Halloween reverse watercolour painting came from someone I follow on Instagram (@andrea.nelson.art if you are interested in giving her a follow). It is such an awesome idea, and she demonstrates it very well. The whole idea is that you are creating a picture by not leaving areas free of paint as you add darker and darker layers.
Make sure you follow my Halloween board on Pinterest for more ideas. Don’t forget to save the pin for later.
You will need watercolour paper for this rather than regular paper or card stock. That is because you will be adding lots of layers of paint and thinner paper will break.
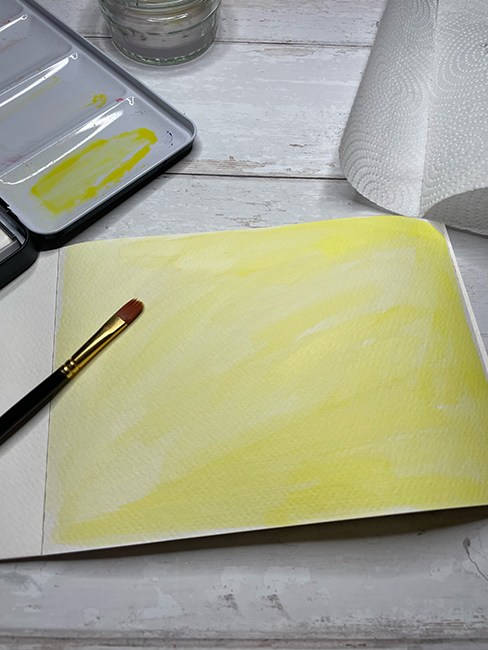
Start out by covering your paper in your lightest colour. If you are doing a Jack-O-Lanterns or candles, start with yellows. If you are doing something like bats go with a light grey/blue colour.
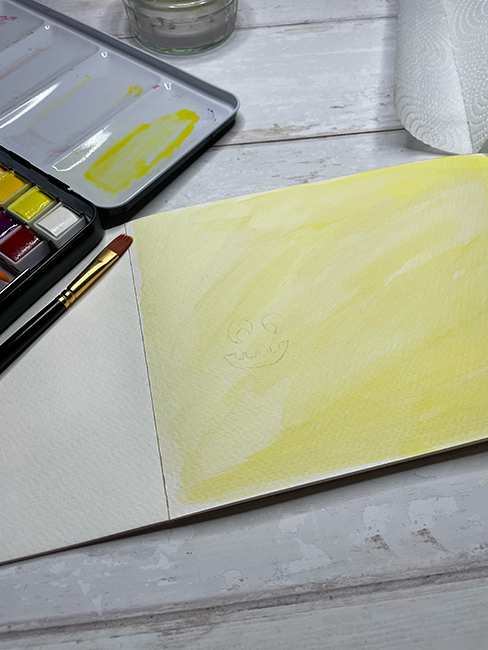
When that layer has dried, draw in the first part of your picture. This could be the cut-out holes of your pumpkin, flames of a candle, or a couple of bats.
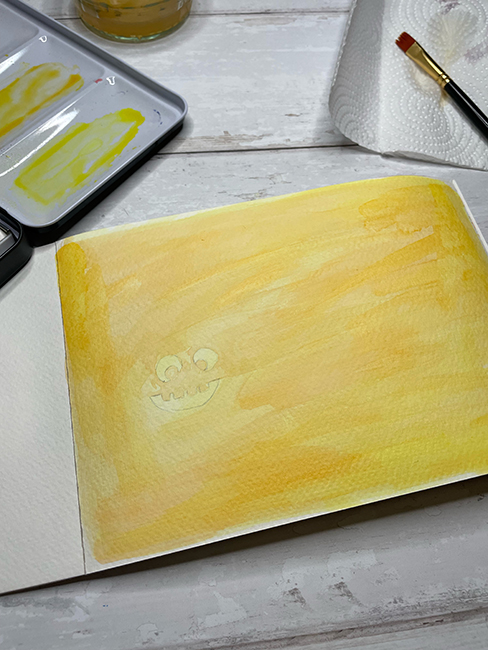
Then go in and paint over everything with a slightly darker colour EXCEPT the inside of what you have just drawn.
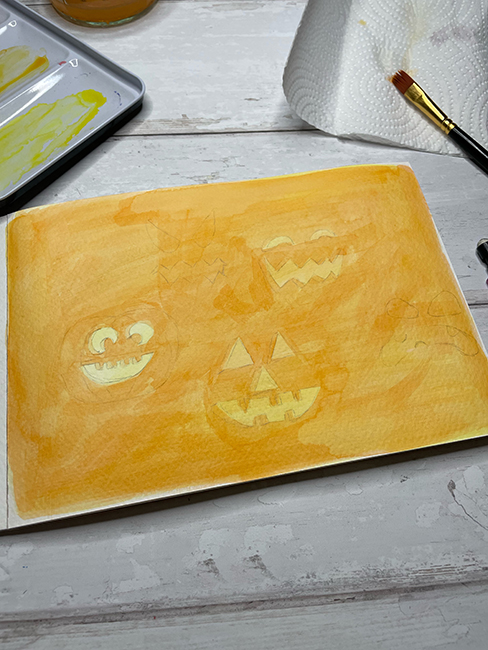
Once that has dried you can add more details, i.e. the cut outs of another pumpkin, the candles, or more bats.
Again, you will paint on a darker layer except in the parts that you have just draw.
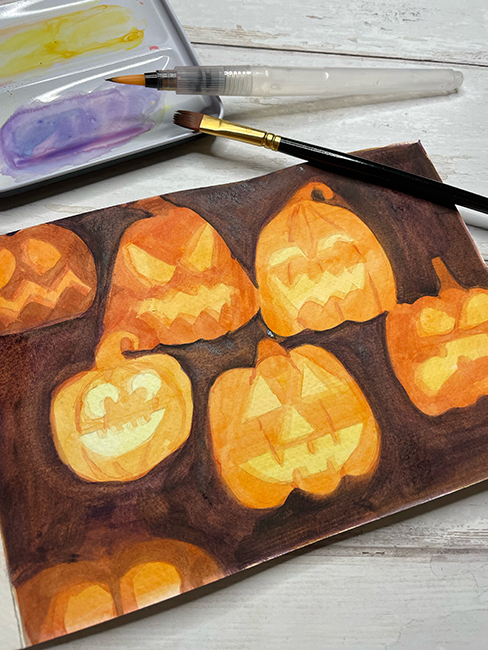
Keep going with adding more details and darker layers until you are satisfied with your pictures. I love how the Jack-O-Lanterns look like they are glowing on the inside.
If you enjoyed this Halloween reverse watercolour painting, be sure to check out my positive negative Halloween pictures, Halloween paper lanterns, Pumpkin Hama beads.
Pin for later:

Step into party season with Linzi’s gorgeous collection of occasion-ready footwear. From sparkling heels and statement platforms to elegant courts and chic ballet flats, there’s something for every festive celebration. Whether you’re dressing up for a Christmas party, heading out for cocktails or planning your New Year’s Eve look, Linzi has the finishing touches covered. Think eye-catching details, flattering silhouettes and plenty of sparkle, all at prices that won’t blow the party budget.
Christmas Gifting / 15 November, 2026
Christmas Gifting / 14 November, 2026
Christmas Gifting / 13 November, 2026