Blogger / 3 March, 2026 / Nanny Anita
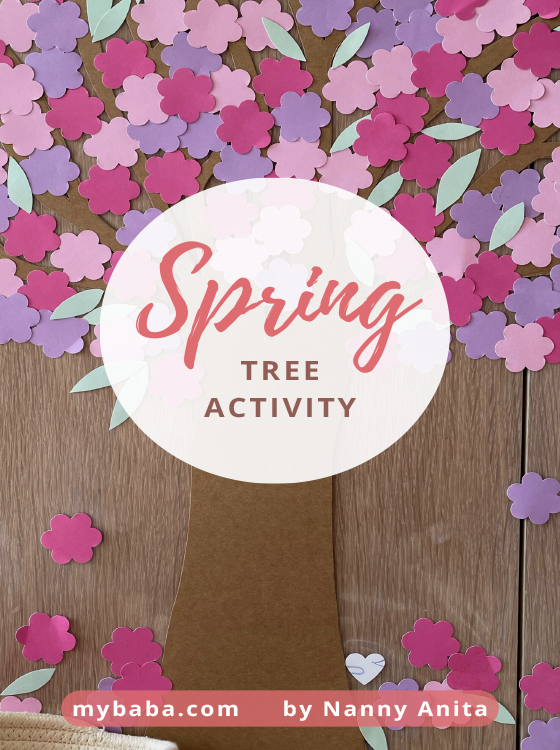
After doing the sticky Autumn and Christmas tree activities for NC, I thought I might as well do a sticky Spring blossom tree one too. I will also probably do a summer one to complete the seasons.
Make sure you follow my seasonal board on Pinterest for more ideas. Don’t forget to save the pin for later.
Draw the shape of the tree onto the brown paper and cut it out.

Either use a flower shaped hole punch to cut out the flowers from the coloured paper or draw the flowers and cut them out. I used the hole punch, it saves a bunch of time, and I will definitely use it again in the future. I also cut out a few leaves as well.

Mount the cut out of the tree onto the sticky back plastic. Use tape to secure it to the wall. When you stick it up to the wall you need to have the sticky part of facing out so that the flowers will stick to it. Normally when I do this the paper I use for the leaves etc is the same on both sides. That way when NC is done, I simply turn it around to get a laminated picture (it stops NC from picking the pieces off). Unfortunately, the paper I used this time is only coloured on one side and is white on the other. If I now turn it around, I will get a lovely snow-covered tree instead of a blossom one.

She was even getting her rubber duck involved.
NC always enjoys these sorts of activities. She also really enjoys emptying out all the leaves and flowers out of the basket.
If you enjoyed this sticky Spring blossom tree activity, be sure to check out my blossom printing and blooming flowers.
Pin for later:

Step into party season with Linzi’s gorgeous collection of occasion-ready footwear. From sparkling heels and statement platforms to elegant courts and chic ballet flats, there’s something for every festive celebration. Whether you’re dressing up for a Christmas party, heading out for cocktails or planning your New Year’s Eve look, Linzi has the finishing touches covered. Think eye-catching details, flattering silhouettes and plenty of sparkle, all at prices that won’t blow the party budget.
Christmas Gifting / 15 November, 2026
Christmas Gifting / 14 November, 2026
Christmas Gifting / 13 November, 2026