Blogger / 15 October, 2025 / Nanny Anita
Last year as I was scrolling through Instagram, I came across a post about sugar skulls for Dia de los Muertos which reminded me of an activity I had done many years ago with painting salt structures. I had to do a few tweaks to it to turn it into a painted Halloween salt structures rather than what I had done before.
Make sure you follow my Halloween board on Pinterest for more ideas. Don’t forget to save the pin for later.
For this you do not want to be using fancy salt, cheap fine table salt from your local supermarket is perfect for this.
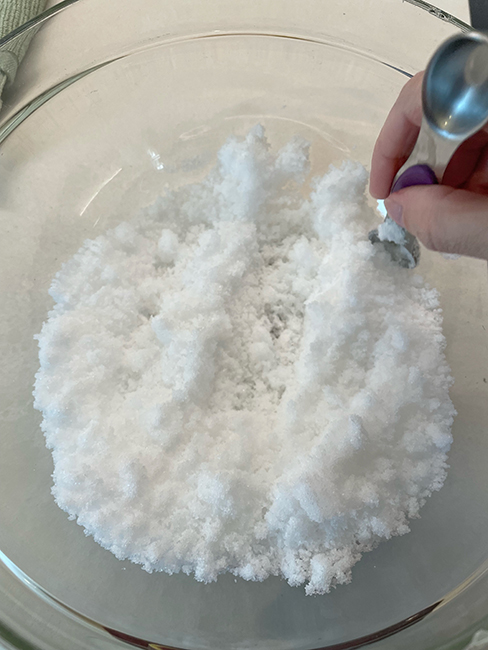
This salt was too dry
When I did this before I used 3 cups of salt and 3 tsp of water. This time I did it by eye and went with what looked right. You are trying to get your salt to be the consistency of wet sand. You don’t want it soaking wet nor do you want it too dry. Once I mixed my water and salt together if I could divide the bowl in half by drawing my spoon through it and both sides stayed in place then it was the correct consistency.
Next fill your moulds with the salt, for this you don’t want to have complicated shapes, the parts will fall off when you remove it. You really want to press it in as tight as you can. I have found that the harder moulds made of metal work better than soft silicone ones. Alternatively, you can fill a cookie cutter with salt and push down hard, then remove the cookie cutter. Whichever way you decide to do it, leave your salt for 12-24 hours to dry before moving on.
The tricky part is removing the salt structure from the moulds without it breaking. I had to redo mine because the first time I did it the salt was too dry when I put it in, so it didn’t set properly. The great thing about this activity is, if it goes wrong, you can just reuse the salt and try again. The second lot was much better.
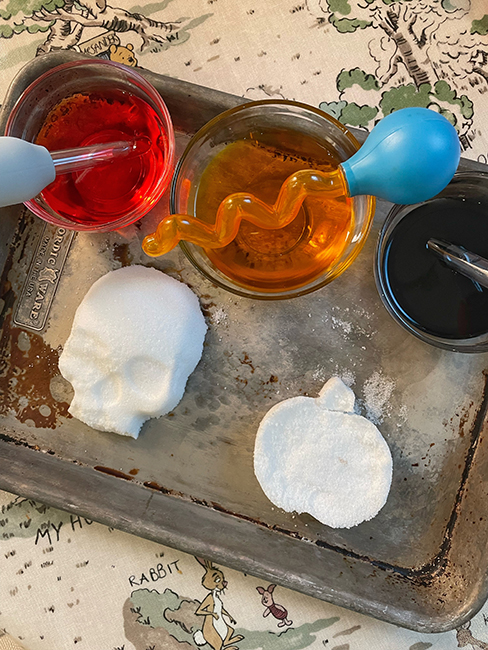
To set up the actual activity I put two of the salt sculptures on a tray with 3 small dishes of coloured water and some pipettes.
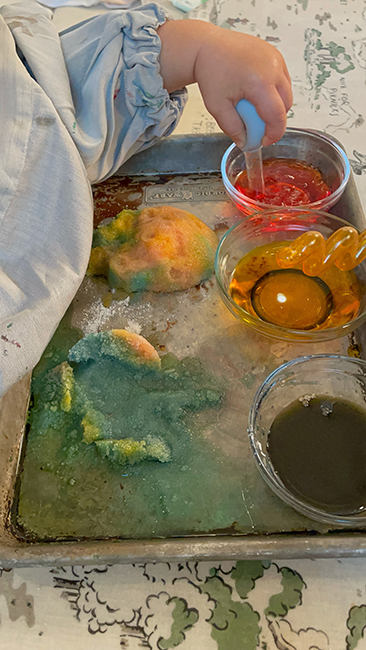
There is absolutely no correct way to play with this. When I have done it in the past, my charges added the colour carefully and the sculpture stayed intact. If you then leave this to dry again, you get a very hard structure. NC on the other hand, destroyed hers in about 10 seconds flat by adding lots of coloured water to them at once. She did however continue to play with this for another 45 minutes.
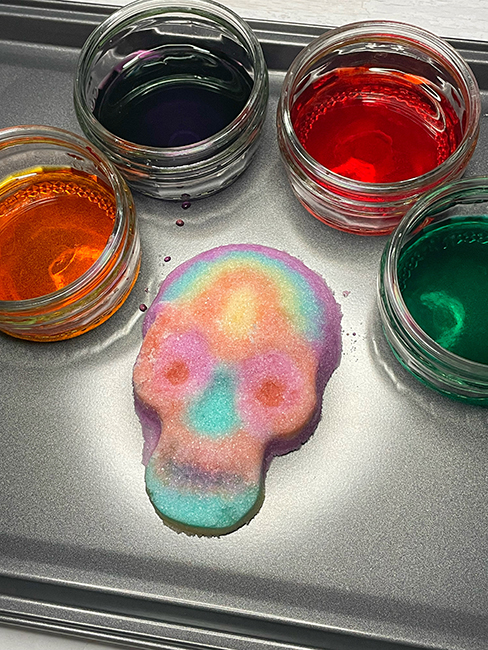
If you enjoyed this painted Halloween salt sculptures, be sure to check out my junk model haunted house, spooky volcano lemon, and moveable owl puppet.
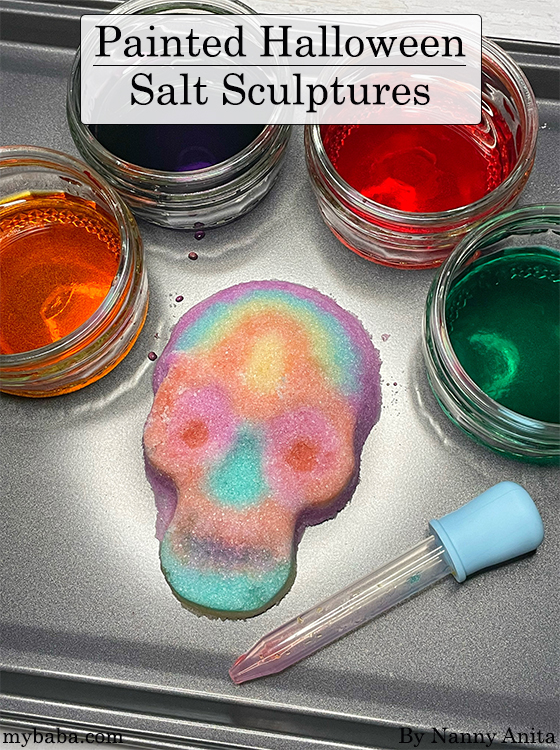
Pin for later:

Step into party season with Linzi’s gorgeous collection of occasion-ready footwear. From sparkling heels and statement platforms to elegant courts and chic ballet flats, there’s something for every festive celebration. Whether you’re dressing up for a Christmas party, heading out for cocktails or planning your New Year’s Eve look, Linzi has the finishing touches covered. Think eye-catching details, flattering silhouettes and plenty of sparkle, all at prices that won’t blow the party budget.
Christmas Gifting / 15 November, 2026
Christmas Gifting / 14 November, 2026
Christmas Gifting / 13 November, 2026